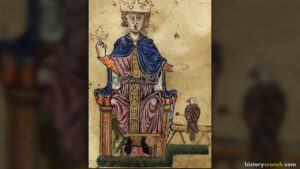
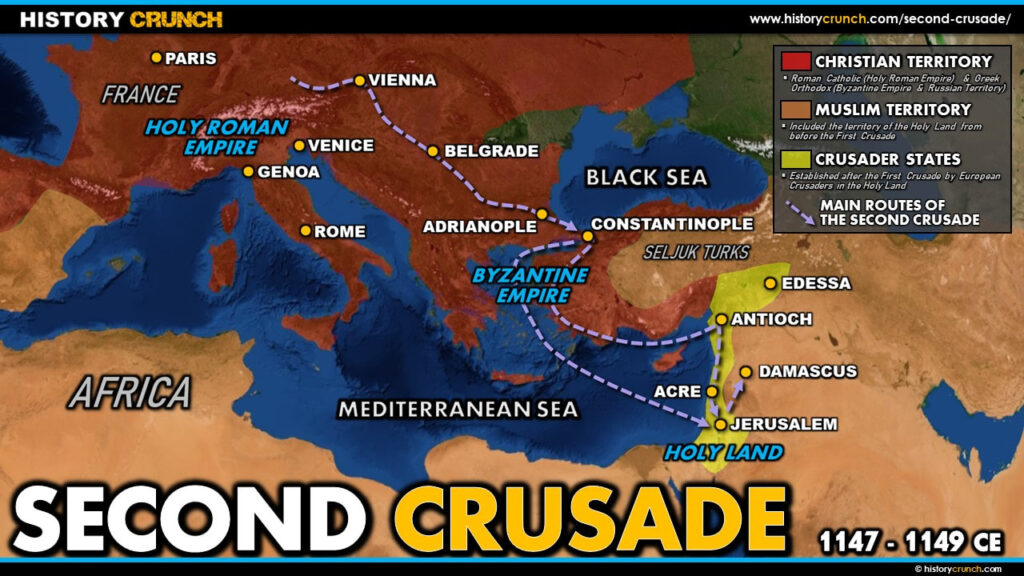
The Second Crusade took place from 1147 to 1149 CE and was launched in response to the fall of the Crusader State of Edessa to Muslim forces in 1144. Led by two of the most powerful monarchs in Europe, King Louis VII of France and King Conrad III of Germany, the Second Crusade saw approximately 35,000 crusaders make the long journey from Europe to the Holy Land. Despite the enormous forces involved, the campaign was poorly organized and ended in failure, weakening European enthusiasm for future crusades. This map was created by History Crunch to help students visualize the geographic route of the Second Crusade and is based on the History Crunch articles on the Crusades.
Second Crusade Map
About This Map
This Second Crusade map was created by the History Crunch team to help students and teachers understand the geographic dimensions of the Second Crusade. It is designed as a visual learning tool to accompany our full articles on the Second Crusade and the broader history of the Crusades. Teachers may use it as a classroom display, a geography activity, or a discussion starter about why the Second Crusade failed despite involving some of the most powerful rulers in Europe.
What This Map Shows
The map shows the routes taken by the two main armies of the Second Crusade as they traveled from western Europe toward the Holy Land. The French army, led by King Louis VII, and the German army, led by King Conrad III, each set out independently and followed somewhat different routes through Europe before converging in the Middle East. This was the first time that European kings had personally led a crusade, and their participation reflected the enormous importance that European Christians placed on protecting the Crusader States established during the First Crusade.
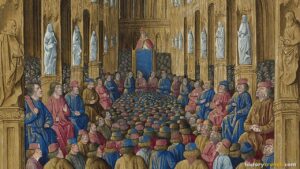
The trigger for the Second Crusade shown on the map is the fall of the County of Edessa, which was located at the northern end of the Crusader States in modern-day southeastern Turkey. In December of 1144 Turkish forces led by Imad ad-Din Zengi captured Edessa, threatening the entire network of Crusader States that the First Crusade had established. Pope Eugene III responded by calling for a new crusade on December 1st, 1145, and support for the campaign quickly built across Europe. The map shows the location of Edessa in relation to the other Crusader States, helping students understand why its loss was considered so serious.
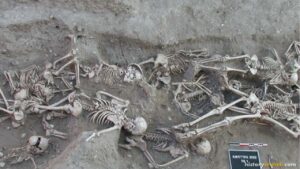
The map traces the routes of both armies through eastern Europe and into Anatolia, the region of modern-day Turkey that had been a contested zone since the First Crusade. Both the French and German armies suffered serious losses in Anatolia from attacks by Turkish forces before they even reached the Holy Land, significantly weakening their fighting strength. The map shows the difficult geographic terrain the crusaders had to cross and the long distances involved in reaching the eastern Mediterranean from western Europe.
The map also shows the key location of Damascus, which became the primary target of the Second Crusade once the crusaders reached the Holy Land. The decision to attack Damascus was controversial since Damascus had previously been a neutral or even friendly power relative to the crusaders. The siege of Damascus in July of 1148 failed after just a few days when the crusaders withdrew without capturing the city. This failure effectively ended the Second Crusade and the armies returned to Europe having achieved nothing of significance.
How to Use This Map in the Classroom
This map works well as a visual introduction to the Second Crusade before students read the full article. It can be used as a geography activity asking students to trace the routes of the French and German armies and identify the key locations including Edessa, Anatolia and Damascus. Teachers may also use it as a discussion prompt asking students to consider why the Second Crusade failed and what lessons the crusaders might have taken away from the experience. It pairs particularly well with the First Crusade map and the Crusades overview article to help students compare the two campaigns and understand how the momentum of the crusading movement began to weaken.
Related Articles
To learn more about the topics covered in this map, visit the following History Crunch articles: